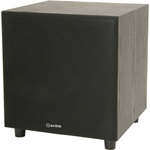
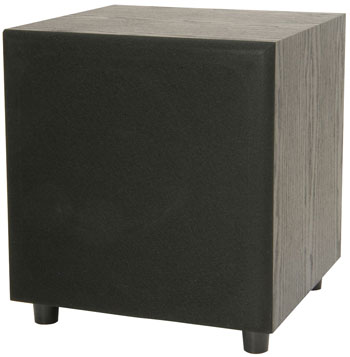
M8S
Active Subwoofer Cabinet
170.190UK
Introduction
Thank you for choosing the AV Link M8S active subwoofer as part of your sound system. This product is designed with flexibility and reliability in mind to offer long-lasting, high quality output for many varied applications. Please read this manual fully and follow the instructions to achieve the best results with your new purchase and to avoid damage through misuse.
Warning
To prevent the risk of fire or electric shock, do not expose any of the components to rain or moisture.
If liquids are spilled on the cabinet, stop using immediately, allow unit to dry out and have checked by qualified personnel before further use. Avoid impact, stress or extreme pressure to the cabinet
No user serviceable parts inside – Do not open the panel – refer all servicing to qualified service personnel
Safety
Check for correct mains voltage and condition of Fig.8 lead before connecting to power outlet
Ensure speaker wires and/or signal leads are in good condition with no shorts or damaged plugs
Do not allow any foreign objects to enter the case or through the ventilation grilles
Placement
Keep out of direct sunlight and away from heat sources
Avoid damp or dusty environments
Position on a level, stable surface, ideally against a wall or in a corner
Avoid sharp objects protruding through the front grille cloth or speaker cone
Ensure adequate access to controls and connections
Cleaning
Use a soft dry or slightly damp cloth to clean the cabinet as required
Use a vacuum cleaner to clear the rear heat-sink of any dust or debris build-ups
Do not use strong solvents for cleaning the unit
Amplifier Panel
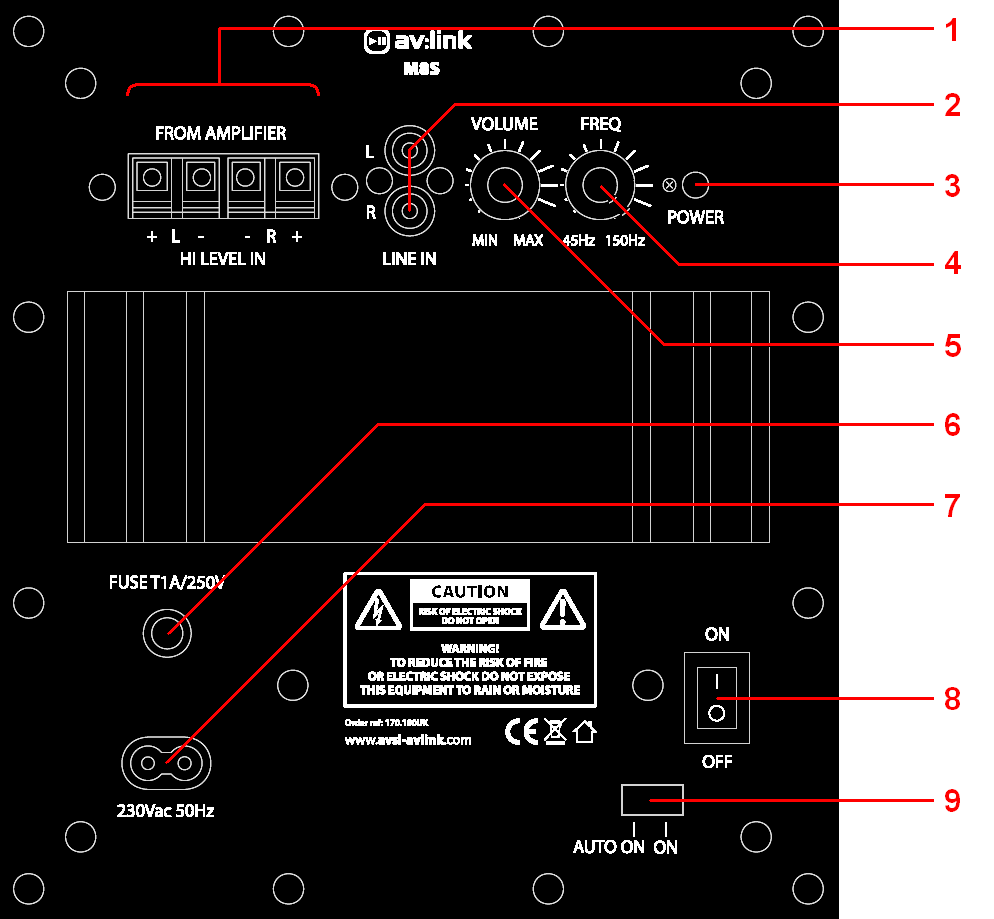
Connection
Connect the M8S to the mains using the mains lead supplied or an
equivalent, good quality fig.8 mains lead.
Ensure that the mains voltage is as stated on the rear panel and the
outlet has sufficient capacity to operate the sub.
Determine how the sub unit is to be configured. If already operating a stereo amplifier with 2 speakers, the M8S can be configured to “tap off” a signal from the amplifier output without affecting the power output of the left and right speakers.
Simply connecting the Left and Right amplifier outputs to the “AMPLIFIER HI LEVEL IN” terminals on the M8S and then from these terminals onto the left and right speakers effectively connects the M8S between the amplifier and speakers, which can simplify wiring, removing the need for a separate signal lead to the sub unit.
Alternatively, if a separate line level audio signal is available, connecting left and right RCA cables to the “LINE IN” connectors is preferred (left and right signals are fed independently to the speaker and are not electrically summed)
With the VOLUME control turned fully down, switch on the power on the rear panel. Once powered up, gradually turn the VOLUME up part way and play a signal through the system. Increase VOLUME as required to balance with top speakers.
Rotating the FREQ control will vary the cutoff frequency of the internal active crossover circuit. The ideal setting depends upon the program material, types of top speakers used and personal preference. Lower settings may require higher VOLUME adjustment to compensate for the extra frequencies that are removed from the signal.
Take care not to drive the sub unit too hard (usually denoted by a “knocking” or “flapping” noise from the speaker cone). Sub bass is difficult to hear over full range speakers and should be almost imperceptible in operation, simply adding warmth and fullness to the sound.
At the lower right-hand side of the rear panel is a selector switch
marked “AUTO ON – ON”
Selecting AUTO ON puts the M8S into an energy saving standby mode when
no signal is present and automatically switches power to the amplifier
when a signal is detected.
Selecting ON keeps the amplifier powered up constantly.
The front grille frame is removable for studio monitor applications or where the speaker cone may not need protecting.
Before powering down, turn the channel gain controls fully down to avoid loud noises when switching off.
Troubleshooting
| No power light on rear panel | Ensure IEC inlet is connected to mains and mains lead is in good condition |
| Ensure mains outlet is switched on | |
| Ensure POWER switch is on | |
| Check mains fuse and replace if necessary with an approved type T1A fuse 5x20mm. If fuse keeps blowing, seek advice from qualified technician |
|
| Power light is on but no output | Check line input signal and connection leads |
| Check HI LEVEL IN speaker leads are connected correctly and if top L+R speakers are operating correctly | |
| Ensure VOLUME level control is not turned fully down | |
| Ensure signal has some bass content and FREQ is not turned down too far | |
| Output is very distorted or “flapping” sound is heard from speaker cone | Turn down the input level from audio source |
| Turn down channel VOLUME level control | |
| Output is working but at very low level | Ensure input source is high enough |
| Ensure signal has enough bass content | |
| Turn up FREQ control to check if set too low | |
| Turn up VOLUME level control |
Specification
| Specification | Value |
|---|---|
| Power supply | 220-250Vac, 50/60Hz (Fig 8) |
| Driver | 20cm (8") reinforced cone |
| Speaker : impedance | 4 Ohms |
| Connections | Speaker level input terminals, RCA line level in |
| Cut-off frequency | 45 - 150Hz |
| Rated output power | 100W |
| Peak output | 200W |
| Frequency response | 50 - 250Hz |
| Dimensions | 300 x 330 x 300mm |
| Weight | 7.44kg |
Precautions
| CAUTION | ||
| RISK OF ELECTRIC SHOCK DO NOT OPEN | ||
| CAUTION : TO REDUCE THE RISK OF ELECTRIC SHOCK, DO NOT REMOVE COVER (OR BACK) NO USER-SERVICEABLE PARTS INSIDE REFER SERVICING TO QUALIFIED SERVICE PERSONNEL | ||
This symbol indicates that dangerous voltage constituting a risk of electric shock is present within this unit
This symbol indicates that there are important operating and maintenance instructions in the literature accompanying this unit
Safety Notice
- Prior to use, read through this safety guide.
- Pay attention to safety warnings.
- Observe all operating requirements.
- For any items designed for indoor use only, do not operate near water or in humid environments.
- For cleaning, only use a lint-free, dry cloth.
- Install according to the specifications.
- Place away from heat sources or heating appliances.
- During placement, ensure adequate support for the product and access to controls and connectors.
- Do not obstruct any cooling vents or openings and allow adequate space for air flow.
- Use only power connections supplied with the product or suitable equivalents.
- Do not modify the equipment in any way.
- For any mains powered appliances, ensure that the mains voltage is as described in the specifications.
- Keep powered products and batteries away from the reach of children.
- In case of malfunction, water ingress or other damage, consult qualified service personnel.
- Avoid pressure or impact to the housing that may result in damage when transporting or installing this product.
- For any Earthed mains product, ensure that the power supply has a protective Earth connection.
- Keep all packaging materials out of reach of children.