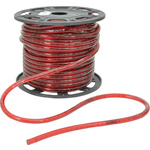
230V Rope Light - 45m
155.010UK
Introduction
Thank you for choosing Lyyt Tube Light as part of your decorative lighting installation.
This product has been designed to add light and colour to indoor or outdoor areas for displays, architectural highlights and themed installations. Please use the following guide to avoid incorrect installation and get the best results from Lyyt Tube Light.
Tube Light
Installation Guide
- Red 155.010UK
- White 155.015UK
- Blue 155.020UK
- Green 155.025UK
- Yellow 155.030UK
- Orange 155.035UK
Construction
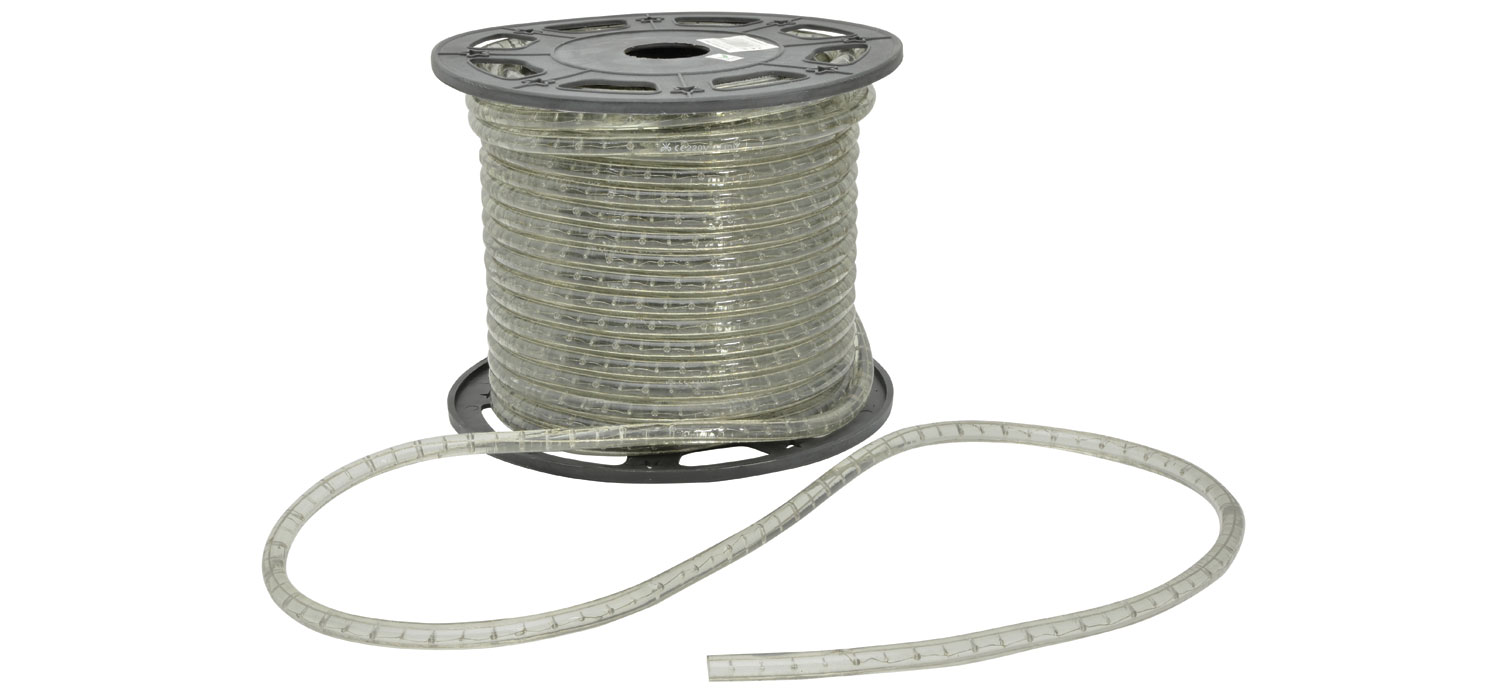
Tube light comprises a continuous chain of miniature light bulbs (sometimes called “rice bulbs” because of their shape), encased in an inner PVC extrusion with an outer coating of coloured PVC which is resistant to water-ingress, impact and UV degradation. The product is supplied as a 45m roll and can be cut to length as required. The power lead is sold separately.
Storage and Handling
Keep unused rolls or part-rolls in a clean and dry environment. Protect cut ends, if necessary, with end caps and/or tape. Do not store in freezing temperatures or extreme heat as this can affect the strength and flexibility of the PVC containment when it is being installed.
Available Accessories
| Item | Description |
|---|---|
| 153.604UK | End cap for Tube Light |
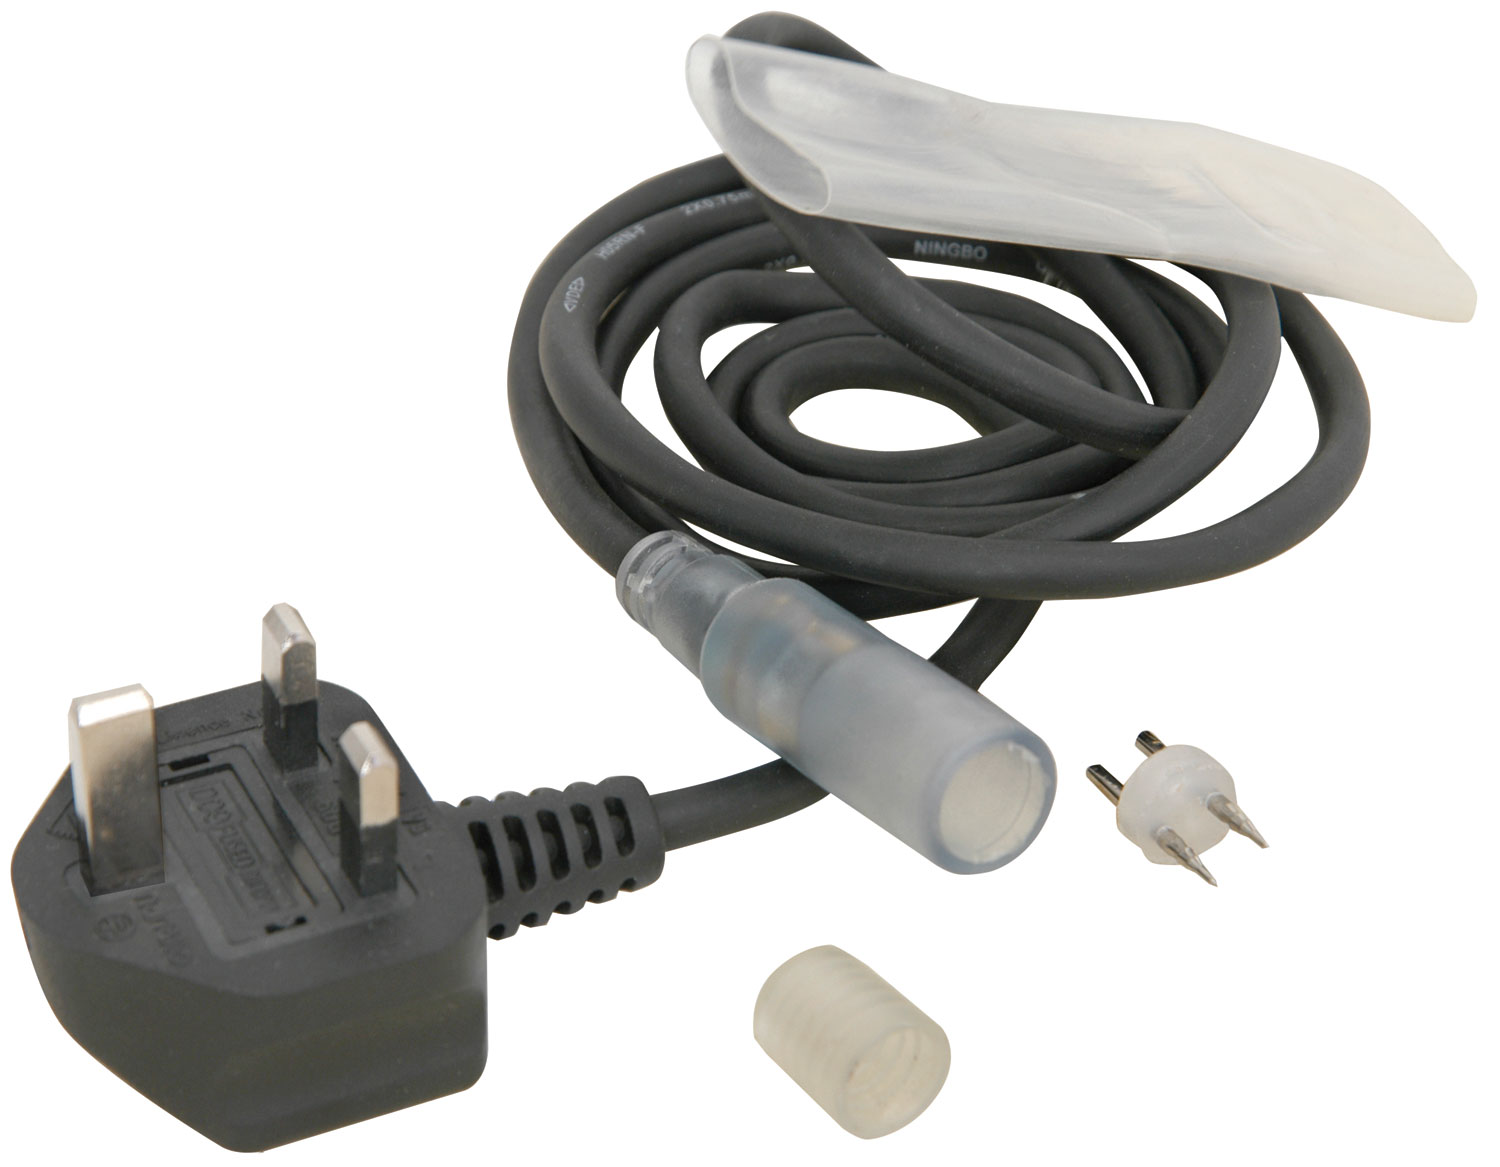
| 153.624UK | 1.5m UK power lead with 2-pin connector, shrink tubing and end cap |
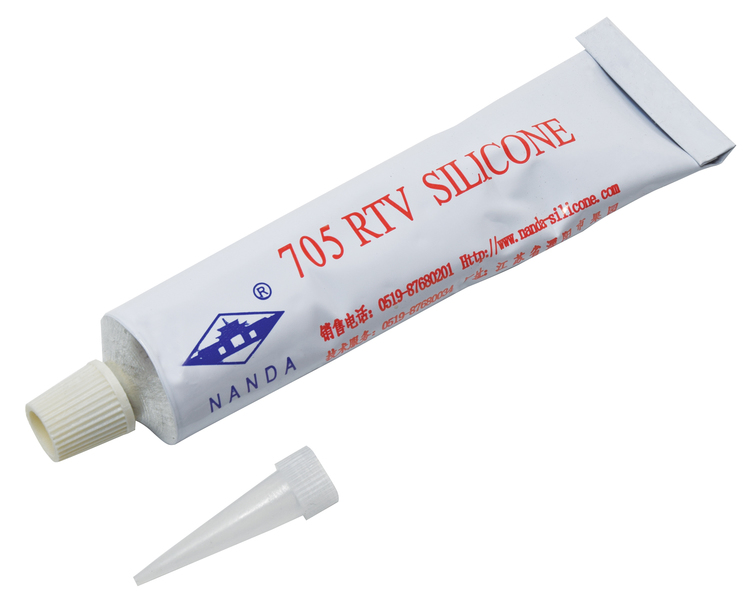
| 153.627UK | Silicone glue for waterproof installation – 22g tube |
| 153.629UK | Set of 2 couplers for extending or splicing lengths of Tube Light |
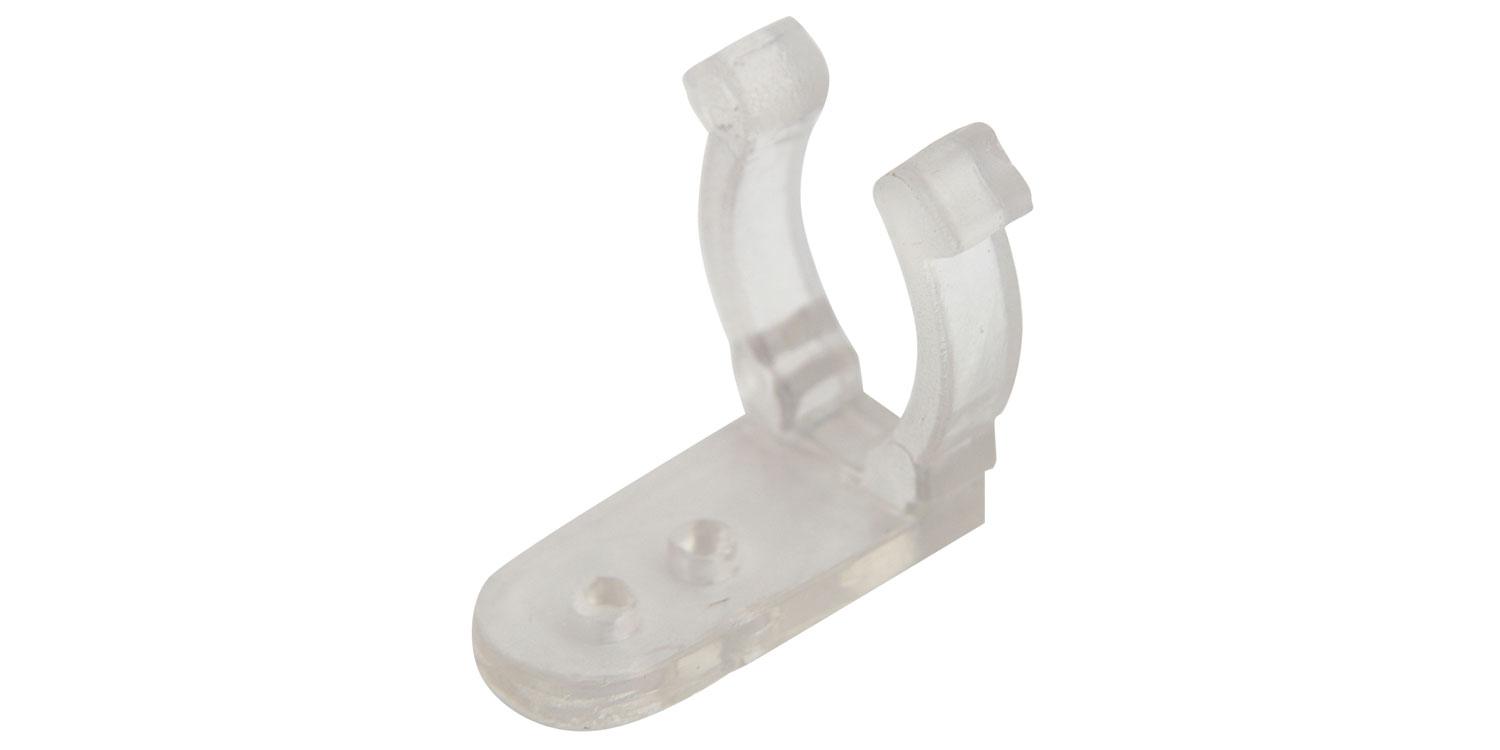
| 153.630UK | Mounting clip (sold in packs of 25) |
| 153.631UK | Plastic channel for Tube Light – 2m length |


Warning
Lyyt Tube Light operates from 230Vac mains voltage and installation and connection should be carried out by a qualified electrical installer.
Safety
Do not connect Tube Light to power whilst still on the roll or during installation and ensure all connections are sealed before connecting to the power supply.
Lyyt Tube Light is IP44 water-resistant and can be used outdoors. Do not submerge or install the Tube Light in water and keep away from constant flow or jets of water.
Installation
Lyyt Tube Light can be attached to building surfaces, frameworks, suspended or laid into channels as required. Mounting clips are available which can be screwed in place to fix the Tube Light to various surfaces and shape it to follow architectural details or specific designs.
Tube Light must be completely uncoiled and should be installed without any overlapping loops. Do not completely enclose the Tube Light and allow space for ventilation and cooling.
Do not cover or apply heavy stresses to the PVC containment.
Tube Light can be cut to length at the indicated cutting points at 1 metre intervals along the length of its outer PVC covering. Use a sharp knife or shears to ensure a clean cut.

Likewise, cut lengths or entire rolls of Tube Light can be coupled or spliced together using the optional 2-pin couplers that can be purchased separately (see “Available accessories” above).
Note: The maximum length that can be connected together is 90m, or 2 complete rolls.
To maintain the water-resistant protection of the product and to insulate the mains voltage carried through the Tube Light, all cut ends and joints must be sealed using silicone glue and heat-shrink tubing. See instructions on the following page
For straight runs, plastic channel is available in 2 metre lengths and can be installed to hold the tube light firmly in a straight line.
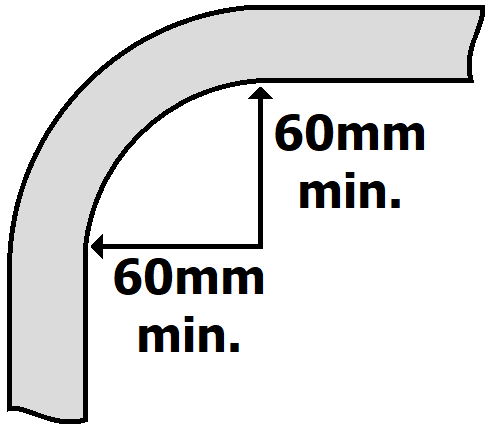 Tube Light can also be fitted around corners with
a minimum bend radius of 60mmØ. (Any attempt to force the Tube Light to
follow a smaller radius can result in damage to the integrity of the PVC
insulation, rice bulbs or connections between them). It is advised to
connect the power lead and end cap (see below) and power up the Tube
Light for a short time to soften it before making such sharp bends.
Avoid bending the Tube Light at any jointed connections.
Tube Light can also be fitted around corners with
a minimum bend radius of 60mmØ. (Any attempt to force the Tube Light to
follow a smaller radius can result in damage to the integrity of the PVC
insulation, rice bulbs or connections between them). It is advised to
connect the power lead and end cap (see below) and power up the Tube
Light for a short time to soften it before making such sharp bends.
Avoid bending the Tube Light at any jointed connections.
Connection
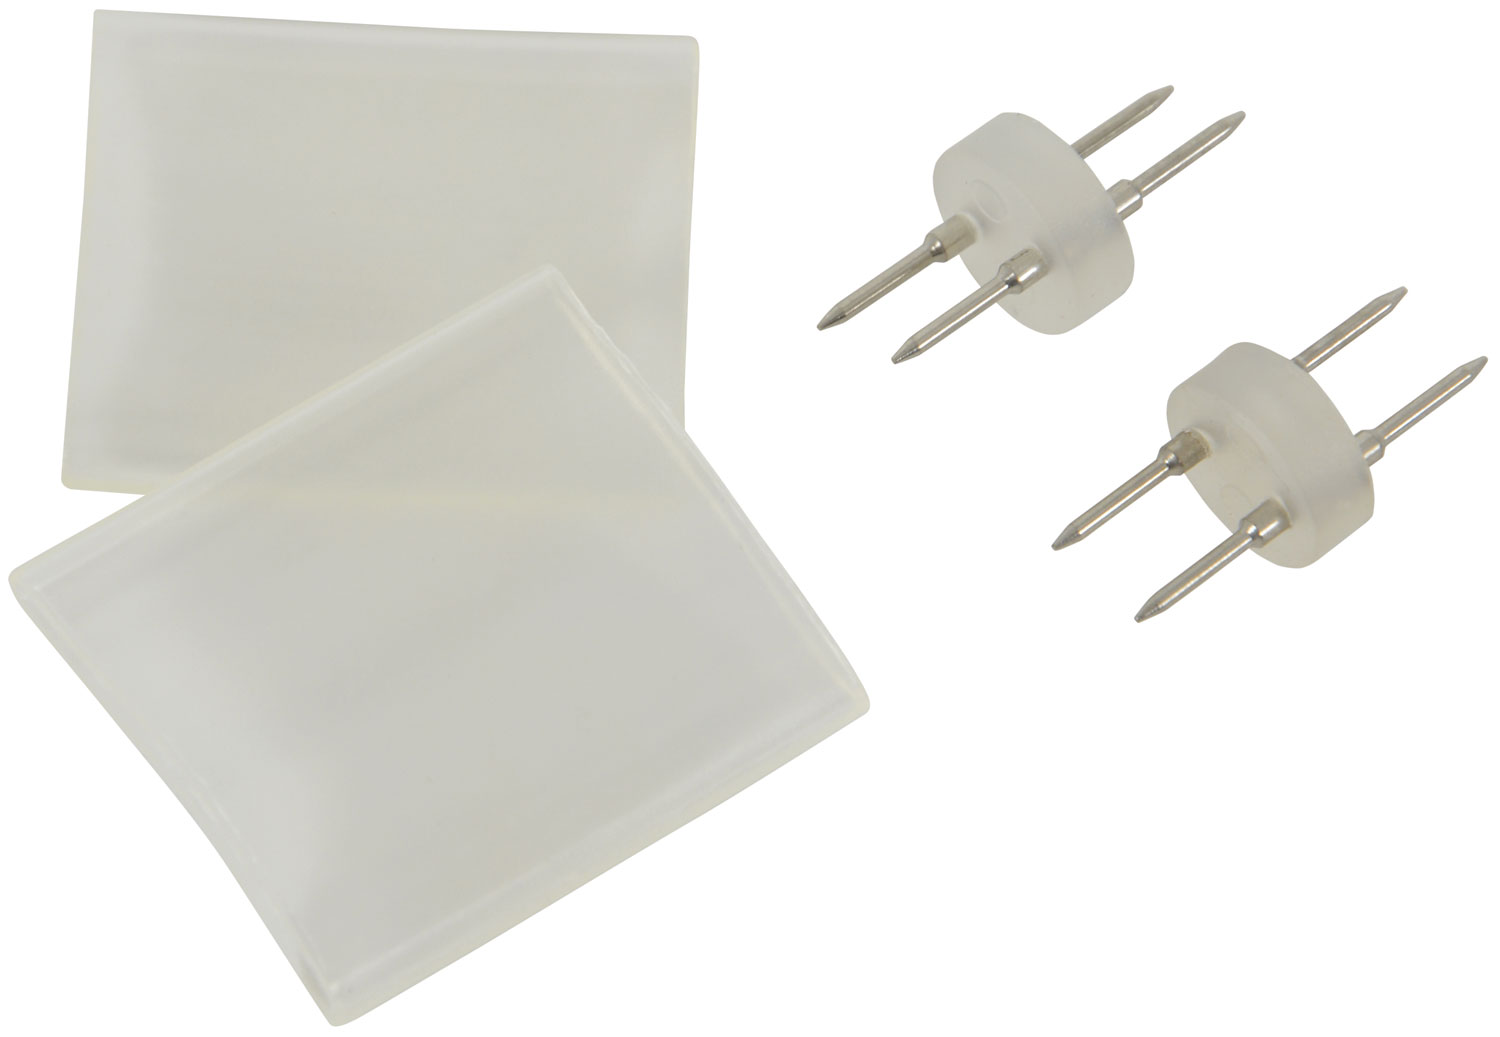
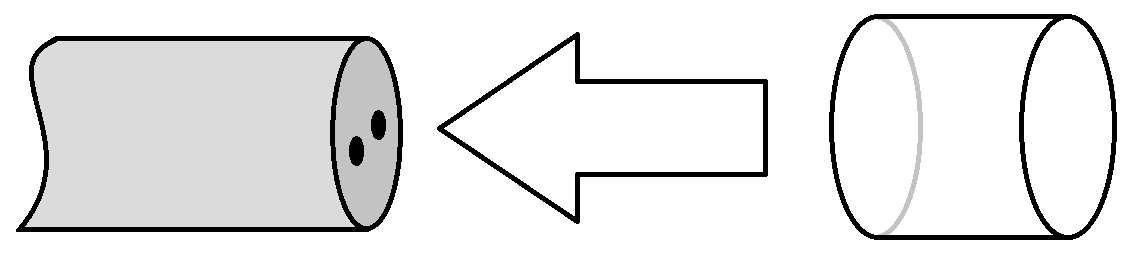
The power lead is supplied with a 2-pin connector with rounded pins on one side and spikes on the other side. The spikes should be pushed into the cut end of the Tube Light where the ends of the 2 internal wires can be seen. This is to ensure a good electrical connection.
Slide the supplied heat-shrink tubing over the connector and Tube Light and push the rounded pins into the corresponding sockets inside the shroud (either way around is OK). Apply silicone glue where the Tube light emerges from the shroud and slide the heat-shrink tubing back over this joint area. Use a heat gun to shrink the tubing onto the joint area to ensure a good seal.

For any jointed lengths of Tube Light, follow the procedure as above. Slide the heat-shrink tubing over the Tube Light. Firmly insert the 2 spike pins either side of the coupler into the wires at the cut ends of each length of Tube Light, apply silicone glue around the joint. Slide the heat-shrink tubing back over the joint and shrink it onto the joint with a heat gun.

 At the end of the Tube light run, apply silicone
glue to the end face and slide an end cap over it to keep it
water-resistant and insulate the internal wires. Allow joints to cure
for 24 hours before operating in moist or humid conditions.
At the end of the Tube light run, apply silicone
glue to the end face and slide an end cap over it to keep it
water-resistant and insulate the internal wires. Allow joints to cure
for 24 hours before operating in moist or humid conditions.
Specification
| Specification | Value |
|---|---|
| Colour | Red |
| Power supply | 230Vac, 50Hz |
| Lamp life (hours) | 25000 |
| Length | 45.0m |
| No. of bulbs | 36/m |
| Rating | 16.4W/m |
| Temperature range | -20 - 80°C |
| IP rating | IP44 |
| Dimensions | 13mmØ |
| Minimum bending radius | 60mm |
Precautions
| CAUTION | ||
| RISK OF ELECTRIC SHOCK DO NOT OPEN | ||
| CAUTION : TO REDUCE THE RISK OF ELECTRIC SHOCK, DO NOT REMOVE COVER (OR BACK) NO USER-SERVICEABLE PARTS INSIDE REFER SERVICING TO QUALIFIED SERVICE PERSONNEL | ||
This symbol indicates that dangerous voltage constituting a risk of electric shock is present within this unit
This symbol indicates that there are important operating and maintenance instructions in the literature accompanying this unit
Safety Notice
- Prior to use, read through this safety guide.
- Pay attention to safety warnings.
- Observe all operating requirements.
- For any items designed for indoor use only, do not operate near water or in humid environments.
- For cleaning, only use a lint-free, dry cloth.
- Install according to the specifications.
- Place away from heat sources or heating appliances.
- During placement, ensure adequate support for the product and access to controls and connectors.
- Do not obstruct any cooling vents or openings and allow adequate space for air flow.
- Use only power connections supplied with the product or suitable equivalents.
- Do not modify the equipment in any way.
- For any mains powered appliances, ensure that the mains voltage is as described in the specifications.
- Keep powered products and batteries away from the reach of children.
- In case of malfunction, water ingress or other damage, consult qualified service personnel.
- Avoid pressure or impact to the housing that may result in damage when transporting or installing this product.
- For any Earthed mains product, ensure that the power supply has a protective Earth connection.
- Keep all packaging materials out of reach of children.
Disposal : The "Crossed Wheelie Bin" symbol on the product means that the product is classed as Electrical or Electronic equipment and should not be disposed with other household or commercial waste at the end of its useful life. The goods must be disposed of according to your local council guidelines.
AVSL (EUROPE) Ltd, Unit 3D North Point House, North Point Business Park, New Mallow Road, Cork, Ireland